Friday, December 10, 2010

Lemon Cookies


**Update 2/13/18 - Today I made these again... I found the dough to be a little too sticky to work with. I believe this may be because the boxed cake mix has less mix in it than it did years ago. For a quick fix I added about 1/4 cup of yellow cake mix (that's what I had - any flavor should work). It may have been too much because the cookies didn't flatten/spread as much as they should have while baking. BUT I was making them for Valentine's parties at my kids' school.... SOOO I took advantage of the fact that they weren't spreading - and pressed them into a heart shaped cookie cutter - and for the most part they held their shape while baking!! So if you mix up the original recipe below and it is too sticky to roll into balls - just add a little extra cake mix (maybe a TBSP at a time) until it's a good consistency to work with!!**
***One batch made about 24 cookies.***

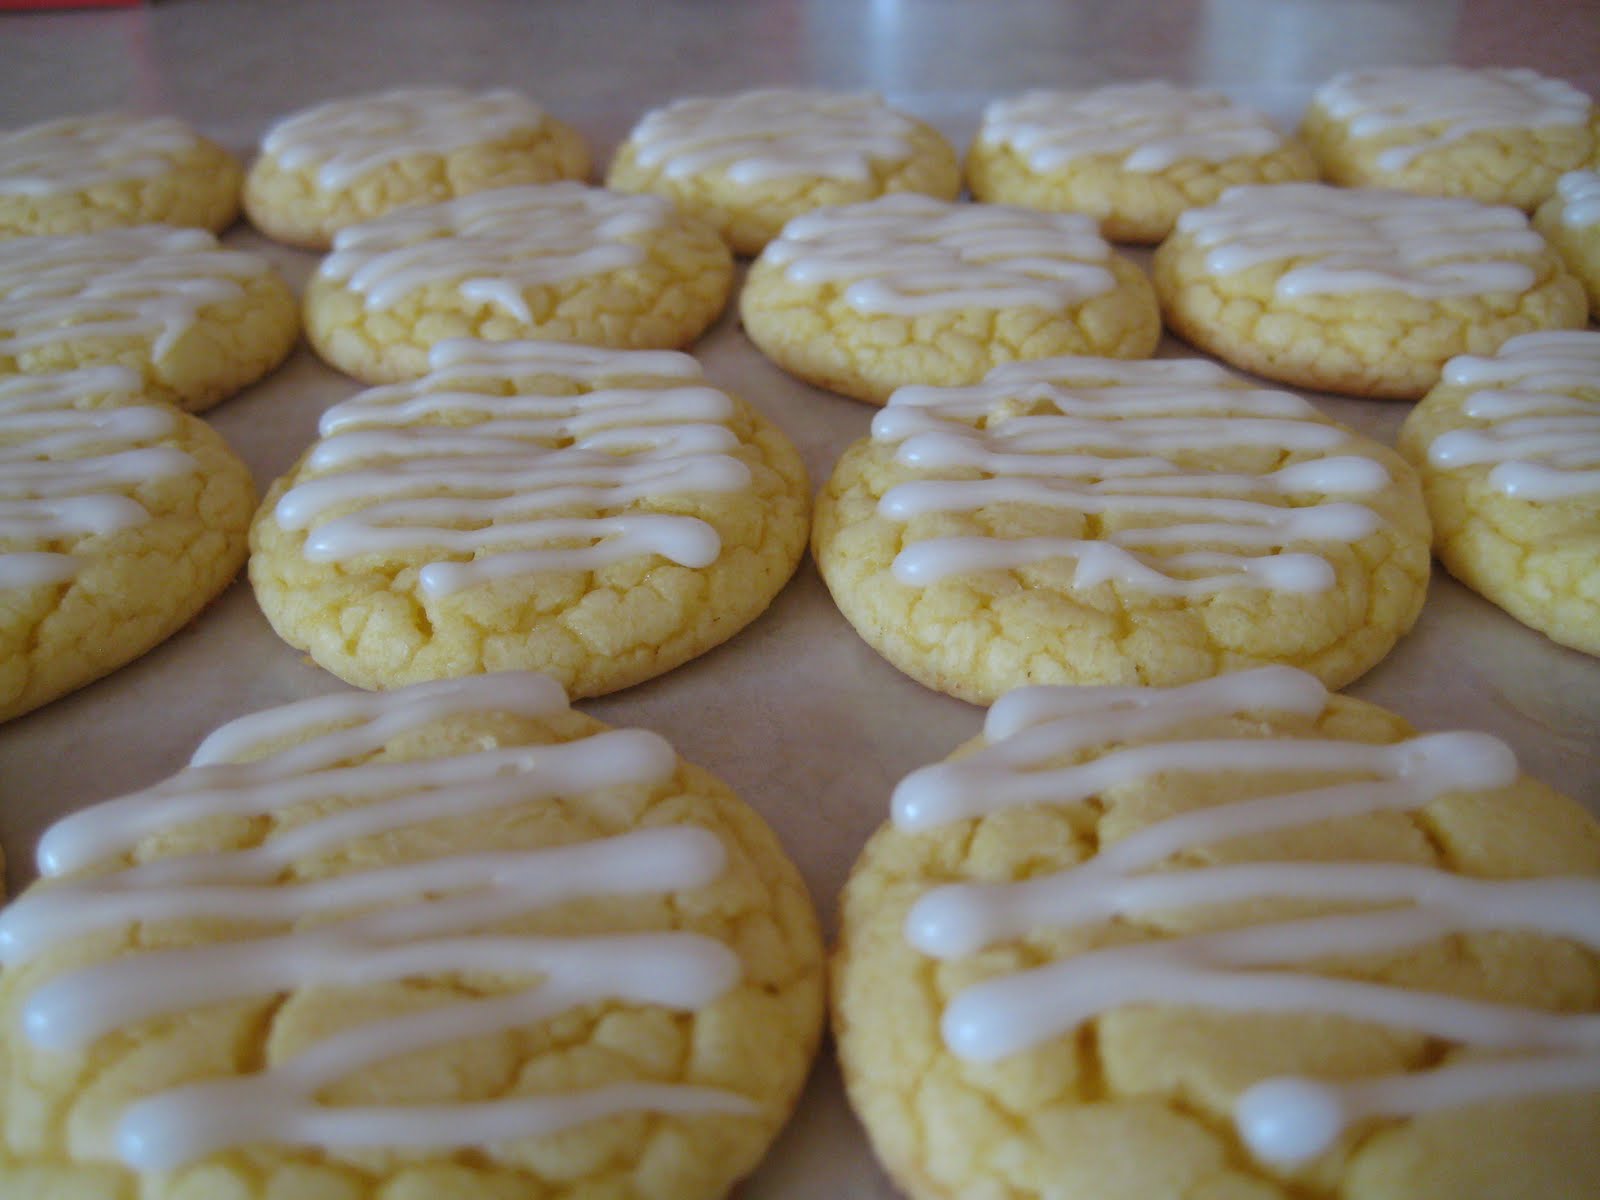
I love these cookies. I have a cookie exchange to attend tomorrow, and with the wedding coming up next weekend, I needed something simple that I could make quickly for this event. I was browsing an old cookbook and saw these and thought how perfect - they are so yummy AND super easy!!

I haven't made them in a long time, and I have never made them with icing. Normally, I just dust powdered sugar on top after they come out of the oven. But the icing idea is fantastic. It is a mixture of powdered sugar and lemon juice.


Recipe:
1 package Lemon Cake Mix
2 eggs
1/3 cup Oil
1 tablespoon lemon juice

*Preheat oven to 375. Grease cookie sheet.
*Combine cake mix, eggs, oil and lemon juice in large bowl. Beat at low speed with electric mixer until well blended. Shape into 1-inch balls. Place on cookie sheet, 1 inch apart. Bake 6 to 7 minutes or until lightly browned. Cool 1 minute on cookie sheet. Remove to cooling racks or waxed paper.

*Dust with confectioners sugar.
OR
*Frost cookies with 1 cup confectioners sugar mixed with 1 to 1 1/2 tablespoons lemon juice. (Start with 1 tablespoon and add more as needed to reach a smooth spreadable consistency).

Tuesday, November 23, 2010

Tiered Cake - Day 4


Well - it's done!! Keep in mind when viewing these pictures that this is NOT a finished cake - it was only for me to practice stacking - which actually was the easiest part of the whole process!! If I didn't put it all together just to take it apart and cut it up, I would have put on some finishes touches to make it look nicer, but it hardly seemed worth the effort when all we wanted to do was cut it up and taste it!! :-)

Fondant finished on Top Tier...

Fondant on 3rd Tier...

In process on 2nd tier...

Tier 2 complete - this was the best one - I was figuring out what to do and not do before rolling the fondant - so this tier came out smoother than the first 2...

Bottom Tier - the chocolate fondant was dryer than the other and was harder to work with - so it didn't turn out as pretty. I read some reviews from others who said the chocolate fondant works better if used right after making it rather than letting it sit - so I'll have to try that if I use it again...

Ready to be stacked...

Inserting the dowel rods...

Measuring...

I need to buy something that I can use to cut the dowels, but in the meantime Brad was a big help!!

2nd tier with dowels...

Isabella wanted to help too...


Ok - all the tiers have the dowel rods and are ready to be stacked... Here we go...


I could not believe how easy it was to stack these cakes. I think the fact that they are covered in fondant makes it even easier because I can touch the sides to move them around without messing anything up...

Isabella thought it was beautiful!! :-)


I moved the top tier around a few times to try and get the best shot...


It looked the best this way - but again it would have looked so much better if I'd done some finishing to cover up the raw edges between the layers...

From the back - you can see two of my "issue" spots on the bottom tier...


Ok now for the good stuff - what's on the inside???

Top 2 tiers - Lemon Cake with Lemon Buttercream filling...

Disassembling 2nd tier...

Strawberry Cake with Vanilla Buttercream filling...

Bottom Tier - Chocolate Cake with Peanut Butter Buttercream filling...

We boxed up most of the cake to share between all the families at Thanksgiving (hoping not to waste too much of it). But here is our little plate we made to taste right away...

Now my fridge is full of giant lasagna pans full of cake...

It wasn't hard to find taste testers!! We all thought all the tiers tasted great!! :-)

Monday, November 22, 2010

Tiered Cake - Day 1, 2 & 3

I have never stacked cakes before, but have been asked by my brother to make his wedding cake in a few weeks. I decided to go ahead and do a practice run so I'd be more comfortable stacking the cakes when it's for real. Here's my process so far...

Day 1: Made 3 batches of Marshmallow Fondant

For the wedding - everything will be white. But for practice I added color for fun. Oh and the brown is chocolate and tastes like a tootsie roll!!! :-)


Day 2: Made 3 batches of buttercream icing for the fillings in each tier (2 were flavored - peanut butter & lemon). Also made 5 batches of stiff buttercream icing to cover the cakes before covering with fondant. I got all the buttercream recipes here.

Day 3: Baked all cakes (Chocolate, Strawberry, & Lemon) and filled and iced each tier. Everything is now in the fridge ready for the fondant and stacking tomorrow...


I hope to have the cake completed and stacked tomorrow - so check back for pictures of the finished product in the next couple of days. :-)

Monday, October 11, 2010

Fondant Covered Cake and Cake Balls

October 9, 2010

My first fondant covered cake turned out pretty good. This cake was for a Bridal Shower that I threw for my soon to be Sister-In-Law. I made the Marshmallow Fondant myself. The cake is 2 layers of Homemade Chocolate Cake filled and iced with a Chocolate Chip Mocha Buttercream. After the Buttercream sat in the fridge for a while, I covered it with the Fondant then made the fondant decorations.

I was somewhat surprised by how easy the fondant was to work with. I expected to have more problems, but I am very happy with the reality since I will be making my first tiered wedding cake for my brother's wedding in December!!

I also made some Strawberry Cake Balls to go along with the cake.

The completed cake...

I was very happy with how even and flat I got the icing before laying the fondant!!

Display at the shower...

Closeup of the cake balls...

Inside of the cake showing the Chocolate Chip Mocha Buttercream...

Cake Balls For A Cure

October 4, 2010

My husband's office has an annual fundraiser called "Cakes For A Cure" to help raise money to fight breast cancer. Employees bring in cakes or other sweet treats to be auctioned off at the silent auction. This year I made come Cake Balls for him to take in.

Cake Balls: Strawberry Cake with Buttercream Icing
Coating: Dark Cocoa Candy Melts (Wilton)
Decoration: Pink Fondant Ribbon (made with homemade marshmallow fondant)

The 20 cake balls I sent raised $25 - not bad!!


Bridal Shower Cake Balls

September 2010

A week after my first batch of cake balls, my sister-in-law (Alison) and I made some cake balls for a Bridal Shower. We had a lot of fun making them and they turned out great.

This time we made 2 kinds of cake - Homemade Chocolate Cake & Strawberry Cake (from a cake mix). We used storebought Cream Cheese Icing this time and used both white and chocolate bark coating for each kind of cake. Then we colored some of the white coating to give them a pretty design on top...


The display at the shower also included some mini cheesecakes made by one of the hostesses.


First Experience with Cake Balls

September 2010

I have become a fan of Bakerella recently and finally tried making some cake balls myself. I made two different kinds...

(1) Homemade Chocolate Cake with Cream Cheese Icing and Chocolate Bark Coating
(2) Hummingbird Cake with Cream Cheese Icing and White Bark Coating

The Hummingbird Cake ones were a little bit of an experiment. The Hummingbird Cake is so moist by itself that after crumbling it and adding some icing it didn't hold it's shape after rolled into balls very well. But even though they dind't look perfect, everyone seemed to really love how they tasted!!


Sunday, October 10, 2010

Winnie The Pooh - 3rd Birthday Cake

March 2010

My daughter wanted Winnie The Pooh for her cake this year and she wanted it to be pink. So I made the cake pink (Strawberry) and the decorations Winnie the Pooh.

What was this cake made up of?
Two layers of Strawberry Cake with a Strawberry Mousse type filling between them.
The top layer is covered with Cream Cheese Icing.
Then the whole thing was covered with Buttercream Icing.
All the decorations were created using store bought fondant (my first time with fondant I took the easy way and just bought it!).

Here is the cake before the Buttercream Icing went on...


Some pictures after it was completely finished with everything except the candles...

I did buy the Honey Pot with Tigger and Piglet - that part is not fondant. Winnie the Pooh pops out of the Honey Pot with the push of a button...

Pictures of the sides...


Party Day - now you can see Pooh!! :-)

And the candles...